Configuring an Application Load Balancer for an ECS cluster using the AWS Copilot CLI.
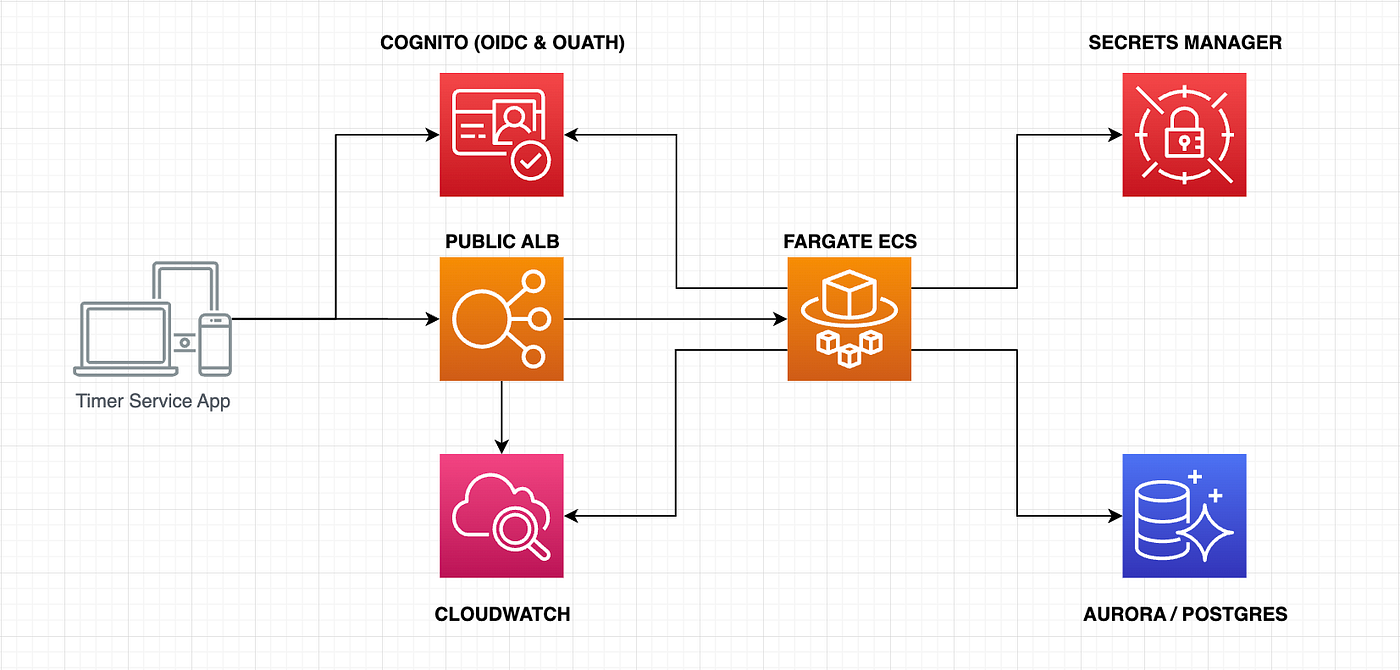
Initially, I deployed the Tasks Service API inside the ECS cluster without an AWS Elastic Load Balancer (ELB). Furthermore, each ECS task was registered in the AWS Cloud Map service for later discovery using the AWS API Gateway. The API Gateway was responsible for redirecting all incoming HTTP requests to the ECS cluster using a VPC Link. In this manner, there is no way to increase or decrease (scaling) the number of ECS tasks based on a transactional load. For this reason, we need to configure an Application Load Balancer (ALB) using the AWS Copilot for our ECS tasks.
As usual, nothing is rosy. I have many issues deploying an internal ALB that I would like to share in this tutorial. So let’s get started.
To complete this guide, you’ll need the following tools:
- Git.
- An AWS account (root account).
- AWS CLI (version 2).
- Amplify CLI.
- AWS Copilot CLI (version 1.23.0).
- OpenJDK 11 (You can use the SDKMAN tool).
- Apache Maven 3.8 or superior.
- Docker and Docker Compose.
- IntelliJ or Eclipse IDE.
NOTE: You can download the project’s source code from my GitHub organization account to review the latest changes. Also, you can pull the docker image for the API service (backend) from my DockerHub organization account and use it with Docker Compose.
1. Using the “Load Balanced Web Service” demo.
The best way to understand how ALB work (internal or internet-facing ALBs) is to deploy a basic example and then progressively add the characteristics we need. So, following the Copilot documentation, we can use a demo to deploy an initial app on AWS. But this app uses a “Load Balanced Web Service” type to demonstrate the use of Copilot CLI. So let’s use this demo to see how this project works:
$ git clone https://github.com/aws-samples/aws-copilot-sample-service copilot-example
$ cd copilot-example
The official documentation uses the “- -deploy” flag to deploy a “test” environment on AWS. But let’s change this behavior using our approach of creating a “dev” environment manually:
$ copilot init \
--app demo \
--name api \
--type "Load Balanced Web Service" \
--dockerfile "./Dockerfile"
$ copilot env init \
--app demo \
--name dev \
--default-config
$ copilot env deploy \
--name dev
$ copilot deploy \
--app demo \
--name api \
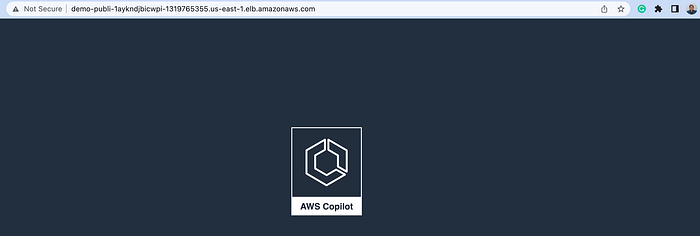
--env devWith these 4 commands, we deployed the demo app into AWS. At the end of the last command, Copilot shows the URL of the ALB to access our ECS service:


So our demo app is working. Let’s go to the AWS console to see some crucial configurations.
One of the things I noticed in the Network mapping section is that the ALB is using the public subnets to allow traffic from it:
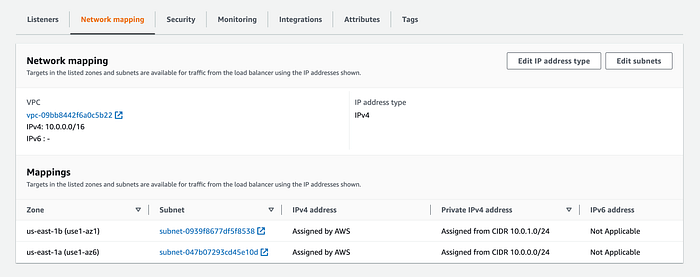
If you go to the Subnets section, you will see the created subnets from Copilot CLI for our demo app:

The CIDRs “10.0.0.0/24” and “10.0.1.0/24” are for public subnets and are used by the ALB.
Another critical topic is the Security Group:

If you go to the definition of this security group, you will see something like this:

The security group allows HTTP connections on port 80 from anywhere (0.0.0.0/0). And this makes sense because we configured an internet-facing ALB.
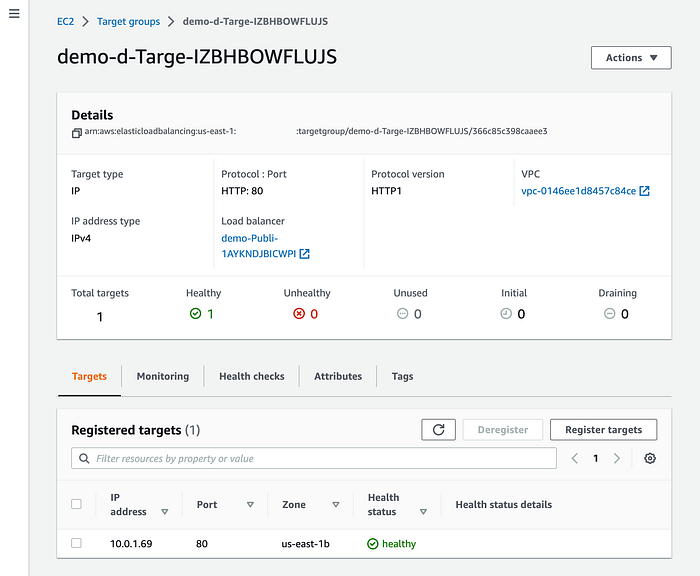
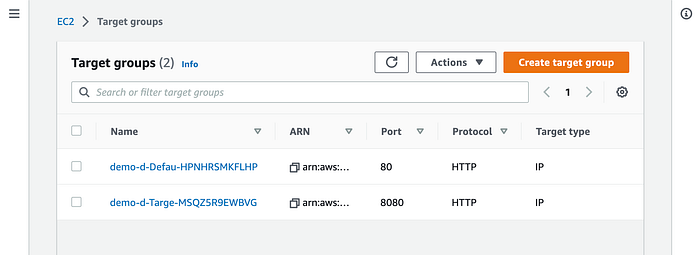
Target groups are another piece that we must be interested in. Copilot CLI creates 2 target groups:
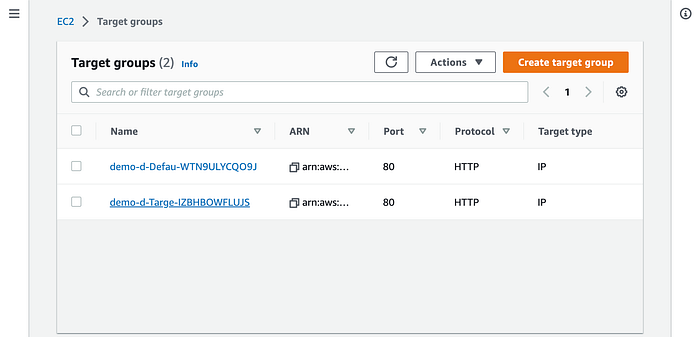
Both target groups used the HTTP protocol over port 80. The “Target type” is “IP,” which is the value that AWS recommends in its developer guide documentation in scenarios like us:
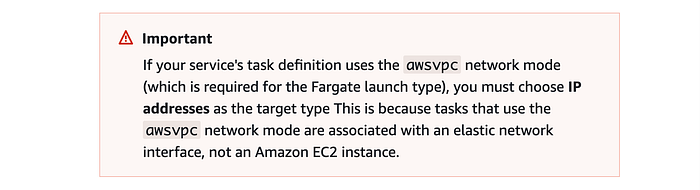
The Copilot CLI uses Fargate ECS to deploy the demo app task.
Another critical topic is the ALB Listener. The Listener created by Copilot CLI defined 2 rules for routing. Each one uses a specific Target Group we saw previously:
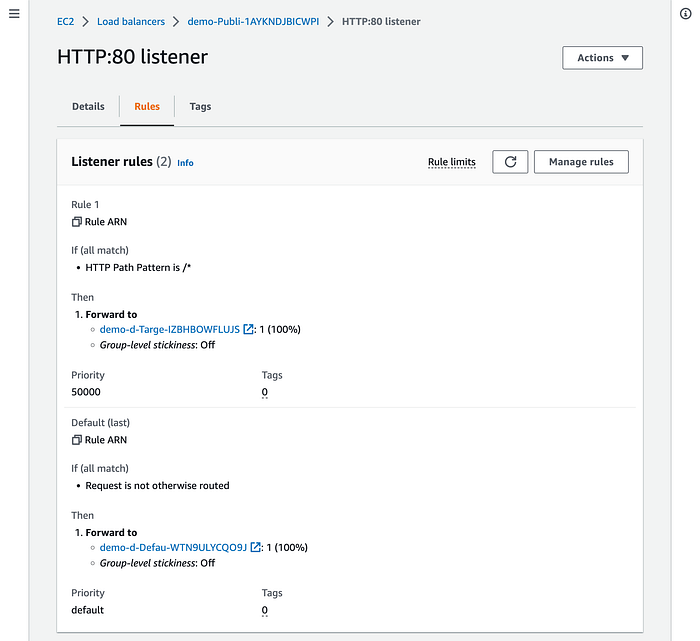
The first rule, which is where the forwarding occurs, is for our ECS task:
The second rule is the default rule and is executed last, as the official AWS documentation expresses:
Default rules
When you create a listener, you define actions for the default rule. Default rules can’t have conditions. If the conditions for none of a listener’s rules are met, then the action for the default rule is performed.
Rule priority
Each rule has a priority. Rules are evaluated in priority order, from the lowest value to the highest value. The default rule is evaluated last. You can change the priority of a nondefault rule at any time. You cannot change the priority of the default rule.
Copilot CLI creates, by default, 2 public subnets, and 2 private subnets. If you previously see the IP address in our “Healthy” target group, you see it using the “10.0.1.69” address. You can corroborate this in the Subnets console:
So, let’s start making changes to our demo app, beginning with the previous topic. That’s because we want our ECS task resides in a private subnet. This could be a better approach for security reasons and more oriented to Back-end services like our Tasks Service.
1.1 Using Private Subnets
Remember that our ALB is internet-facing. Thus, we can let the ALB for public access and the ECS cluster for our private services. So let’s add the following config to the “copilot/api/manifest.yml” file:
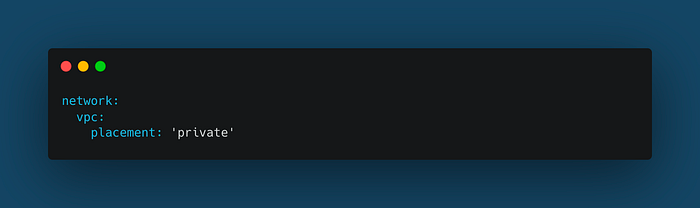
This will place our ECS tasks in the private subnets. But the instances still need Internet access for labor, like patching and updates. The Copilot CLI documentation mentioned this:
If you launch tasks in
'private'subnets and use a Copilot-generated VPC, Copilot will automatically add NAT Gateways to your environment for internet connectivity.
So, let’s execute the following command to update our demo app on AWS:
$ copilot deploy    \
  --app demo        \
  --name api        \
  --env dev
Then, go to the Target groups section to validate the changes:
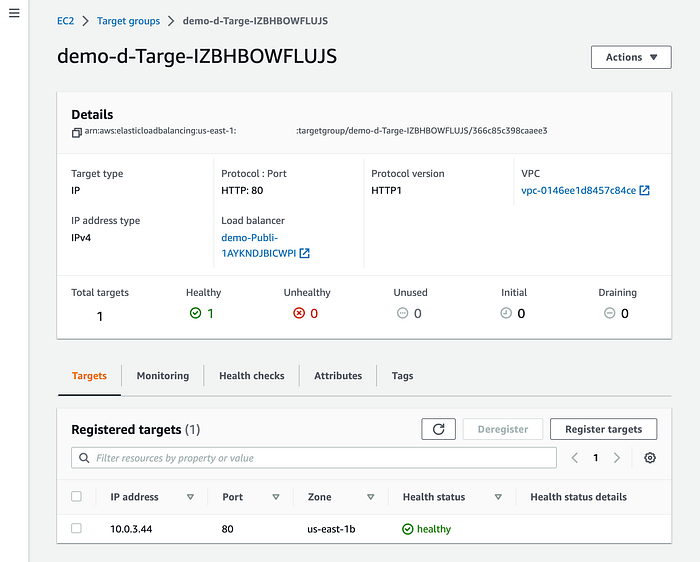
Notice that the ECS task now uses the “10.0.3.44” IP address, which belongs to one of our private subnets.
Also, verify that our demo app is still working:
1.2 Using port 8080.
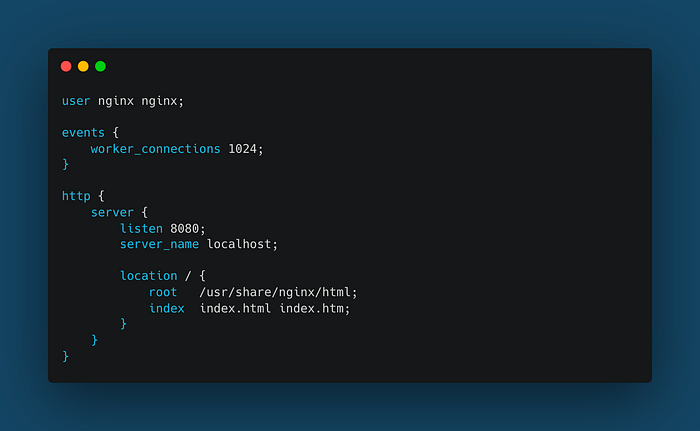
The next step is to use port 8080 in the ECS task. The idea is to simulate a back-end service as our Task Service deployed in the ECS cluster. So first, create an “nginx.conf” file with the following content:
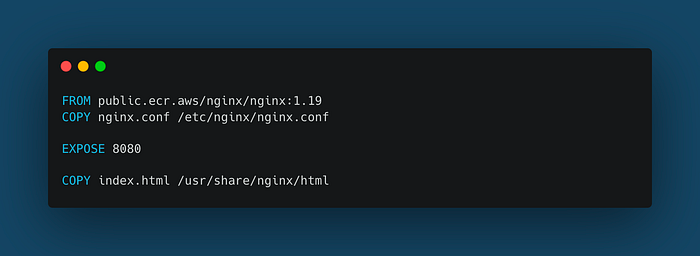
Update the “Dockerfile” by copying the Nginx config file to the container:
Then, update the “copilot/api/manifest.yml” file with the following content:
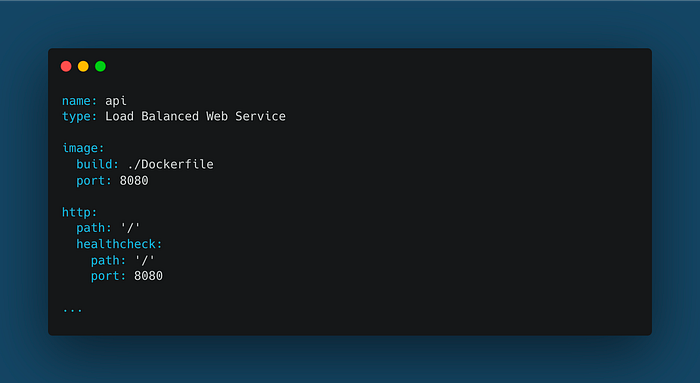
To summarize what we have done, we configured our Nginx server to listen on port 8080. That configuration must be copied to the Nginx container to take effect. Finally, we configured our Copilot project to expose port 8080 of our service and use the same port in the “healthcheck” properties.
So re-deploy the demo app into AWS with this new configuration:
$ copilot deploy      \
  --app demo          \
  --name api          \
  --env dev
The demo app must still be working, and you should see the following format in the Target groups:
The first one is for the ALB itself and the second one is for the ECS task:
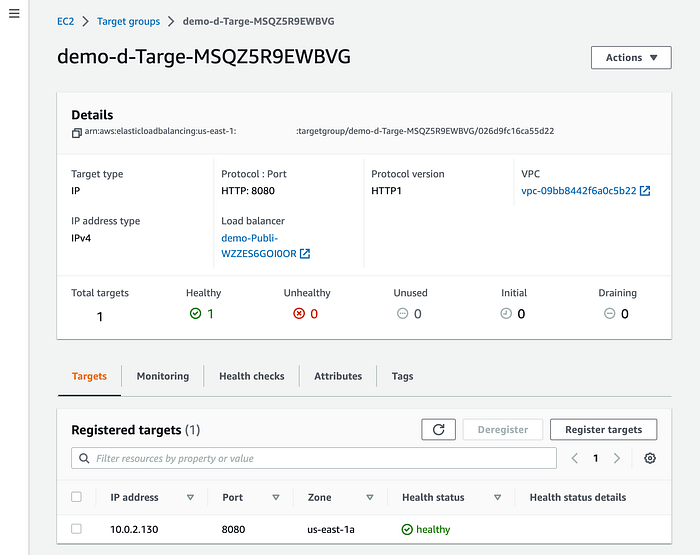
The target group for our ECS task now uses port 8080, and the container is still working in a private subnet.
1.3 Using an Auto-Scaling Group.
The next step is to configure an Auto-Scaling Group for our ALB. So as we’re using Copilot CLI, we need to add the following configuration replacing the “count” parameter in the “copilot/api/manifest.yml” file:
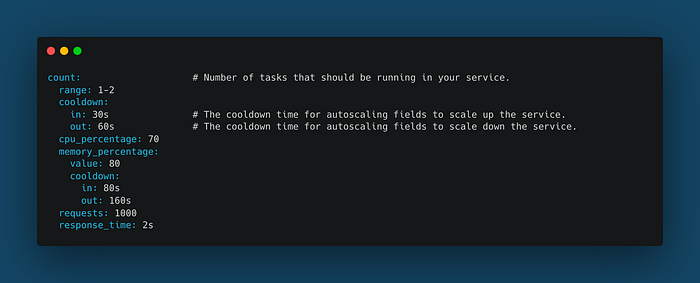
These are the parameters that we can use for our Autoscaling Group. You can find more details in the Copilot CLI official website documentation.
One more time, execute the following command to update our infra:
$ copilot deploy      \
  --app demo          \
  --name api          \
  --env dev
Open the ALB endpoint in a new browser tab to validate that our demo app is still working:
So far, so good. Now, it’s time to configure this internet-facing ALB for our Task Service. But before that, delete the Copilot demo app from your AWS account:
$ copilot app delete --yes2. Using an ALB for the Tasks Service.
First, we need to discuss some important topics about this architectural decision from my point of view.
2.1 Pros/Cons of using an API Gateway for the Timer Service.
The primary advantage of the API GW is that it’s serverless. We don’t need to perform any networking configuration like VPCs, subnets, security groups, etc. Also, the pricing is for the number of requests we made to the API endpoint and the amount of data transferred. This, on the contrary, is a disadvantage for the ALB because we need to pay for the hour/fraction from the moment it’s running.
Another significant advantage of our project is using a secure HTTP connection from the API GW. When we configured the API GW for the Timer Service, we didn’t need to configure a custom SSL certificate. This is the primary disadvantage of the ALB, which requires an SSL certificate if we desire a secure HTTP connection.
Another advantage is using a VPC Link to access EC2 instances inside your VPC. This was useful when accessing an EC2 inside the ECS cluster to consume the Timer Service.
And the list of advantages could be endless. So, it’s not my idea to name all of them here. I will use an API GW in the future when we’re deploying Lambda Functions :)
2.2 Pros/Cons of using a public ALB for the Timer Service.
Our primary disadvantage, for the moment, is that it’s not possible to access an internal ALB from the API GW. I tried to deploy an example from the official AWS documentation, but it was unattainable. But, if you think more about this, it could be a disadvantage in monetary terms because you’ll be paying for the hour/fraction for the use of the ALB and VPC Link, which uses a Private Link internally. You can see an article about this topic in more detail.
Another significant disadvantage is the lack of a default secure HTTP connection for the ALB endpoint. We must configure a custom SSL certificate in AWS and attach it to the ALB. We can do this configuration using the Copilot CLI, but this will be a topic for another tutorial. For now, we must use the ALB endpoint without an SSL connection.
The principal advantage of the ALB is, of course, the implementation of high availability and fault tolerance of our services. This works very well with the Auto Scaling Groups, as we saw in the previous section.
So, there is no better/worse service here. Each has its advantages and disadvantages. And even more, if we’re talking about our service’s architecture. I think the API GW is better if you use a full-stack serverless architecture, as we’re doing very soon ;).
2.3 Updating the Timer Service App
The first thing we need to do is implement the Smallrye Health component inside our Quarkus application. So, add the following maven dependency to our project POM file:
<dependency>
    <groupId>io.quarkus</groupId>
    <artifactId>quarkus-smallrye-health</artifactId>
</dependency>
This library implements the Microprofile Health specification and needs to implement a health check resource:

The endpoint “/q/health/live” is now used as the health check of our Timer Service. So, the next thing we need to do is define our internet-facing ALB in the “copilot/api/manifest.yml” file using the new health check endpoint:
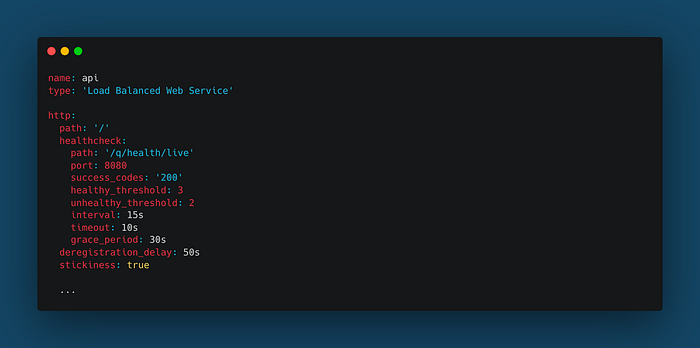
Notice that I also changed the Copilot CLI project to the “Load Balanced Web Service” type as the default one for the Timer Service.
IMPORTANT: I will not delete the shell script files that create and configures the API GW with the Authorizer feature. Later in the project, we must use these files, and you also can use these files for your reference.
Now, it’s time to deploy our Timer Service in the Sandbox environment inside our Multi-Account environment using the following command:
$ hiperium-loginIMPORTANT: In my previous article, you can read more about setting up a Multi-Account environment in AWS. Furthermore, remember that until this point, we have deployed an Identity Provider (IdP) using Cognito to implement an SSO for our Tasks Service. You can read more about this topic in this article.
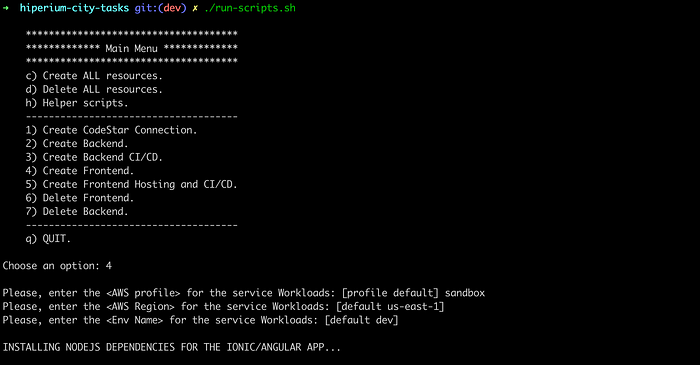
Then, run the main script file:
$./run-scripts 
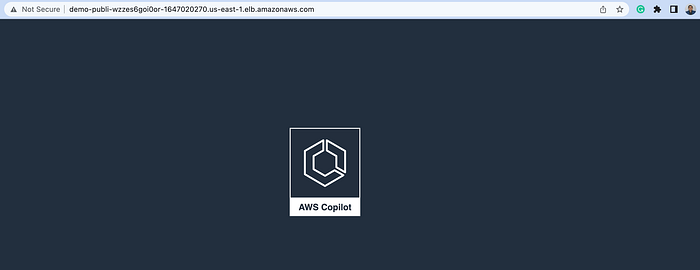
Choose option 2 and press enter. Our script will execute the Copilot CLI commands to deploy our Tasks Service into AWS. At the end of the execution, we must see the ALB endpoint URL:

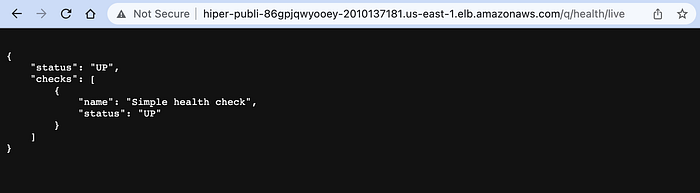
We don’t have an index HTML page, but we have the health check endpoint, so we can validate if our Tasks Service is accessible from the ALB:
So far, so good. The next step is to update our shell scripts to obtain the ALB endpoint using CloudFormation CLI and then update our Ionic/Angular environment files to use that URL as our new API endpoint. But first, we must execute option 4 of our main shell script.
NOTE: For option 3, you can read my last article when I explained the creation of a CI/CI pipeline on AWS using the Copilot CLI.
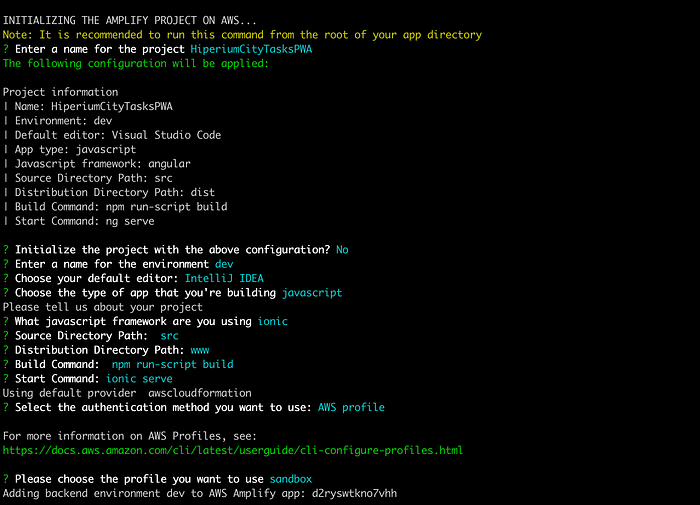
This is an example of the parameters I used for the Amplify project:
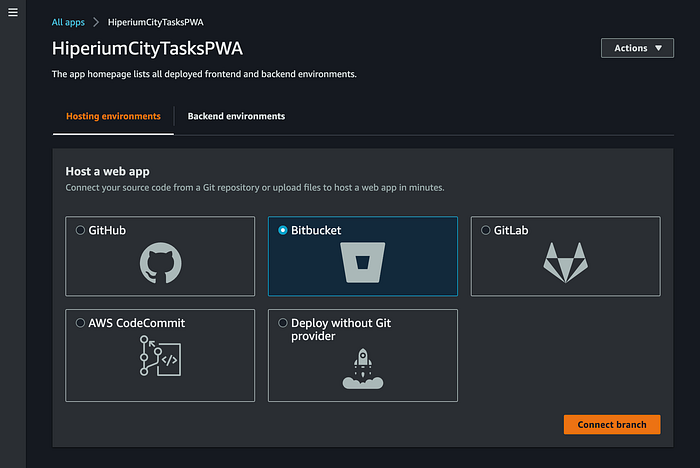
Next, please select option 5 of our main script file. This option will create the Amplify Hosting on AWS so that we can access our Tasks Service from the internet:

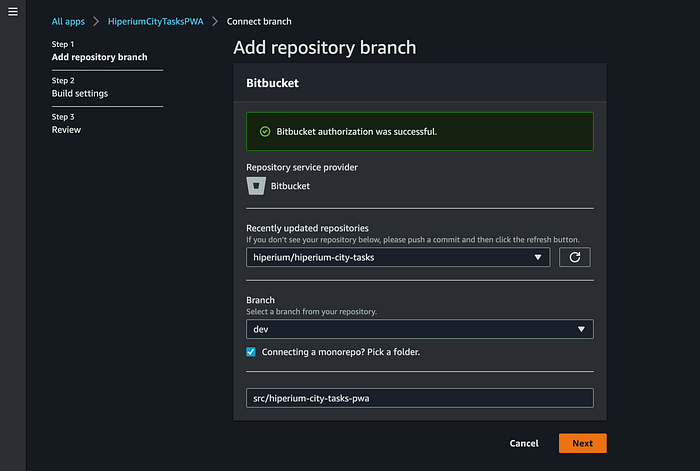
Remember that this is a manual procedure, so the command opens a new internet browser window where you need to specify the Amplify connection config to access your Git repo and deploy host the app:

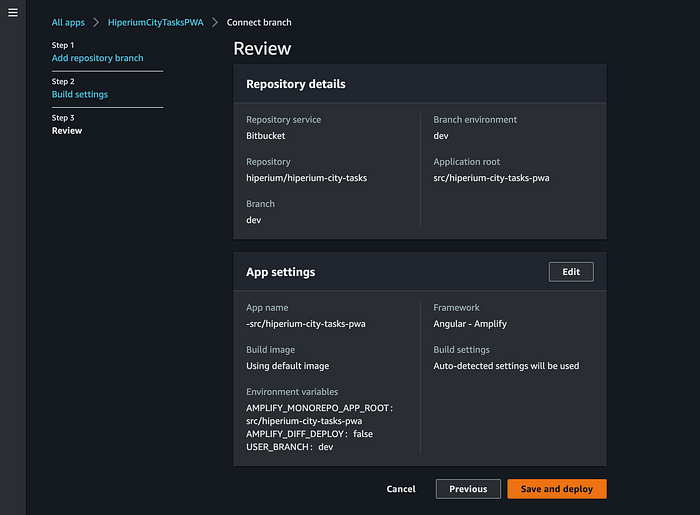
When you click the “Save and deploy” button, the Amplify CI/CD Pipeline must run. Then, validate that all the Pipeline phases are successful:
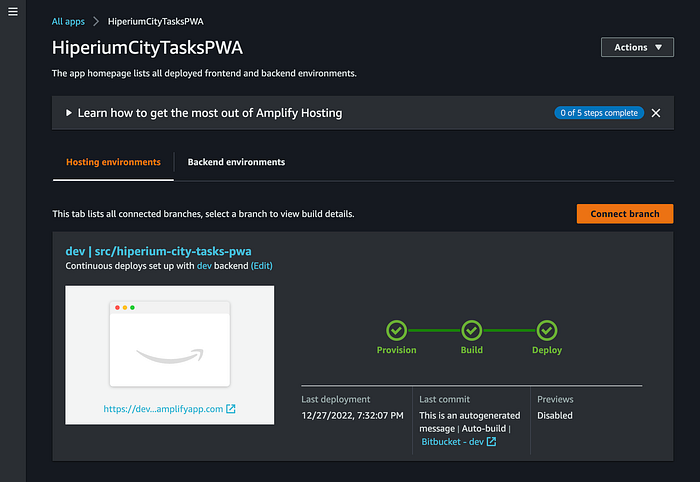
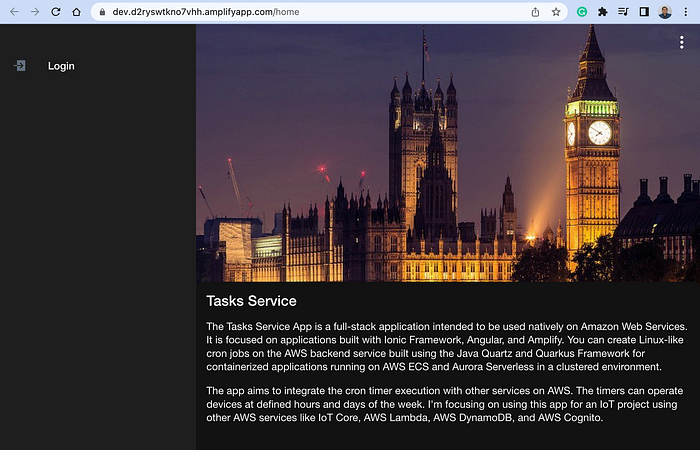
Click on the provided Amplify URL to access our hosted Tasks Service app:
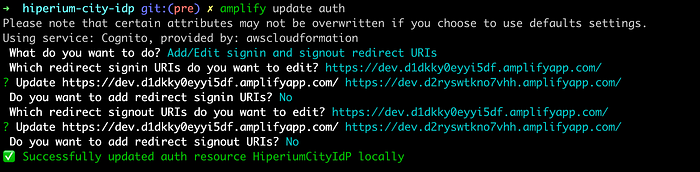
Before you click on the “Login” button, we need to update our IdP project with the new OAuth redirection URLs. So, go to the “hiperium-city-idp” project and execute the following command:
$ amplify update authAnd update the last configured URLs (that we used in my previous tutorial) with the new one provided by Amplify:
NOTE: At the end of the option 5 execution, the command shows you the generated Amplify URL. So you can also use that endpoint to update the IdP.
Then, push these changes to AWS:
$ amplify push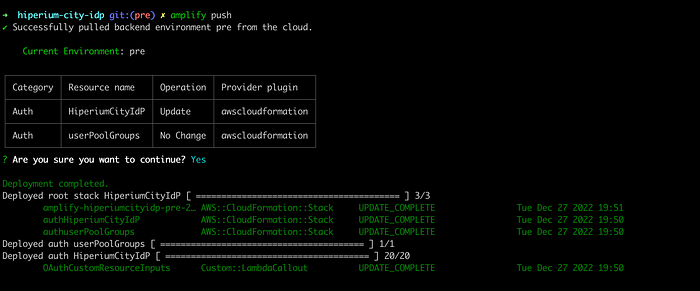
So now, we can click on the “Login” button of our Tasks Service app to be redirected to the IdP login page:
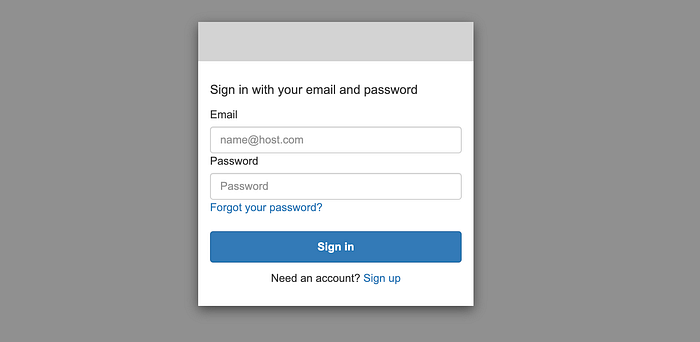
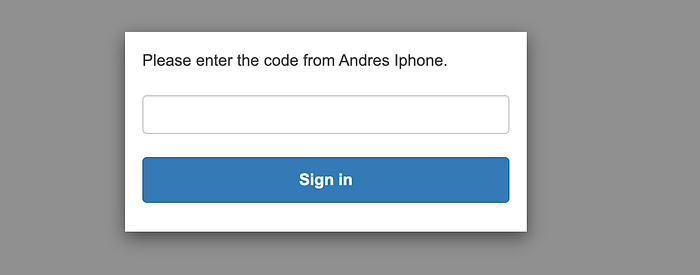
Remember that we configured our IdP to use an MFA, so we need to provide auth code after the login process:
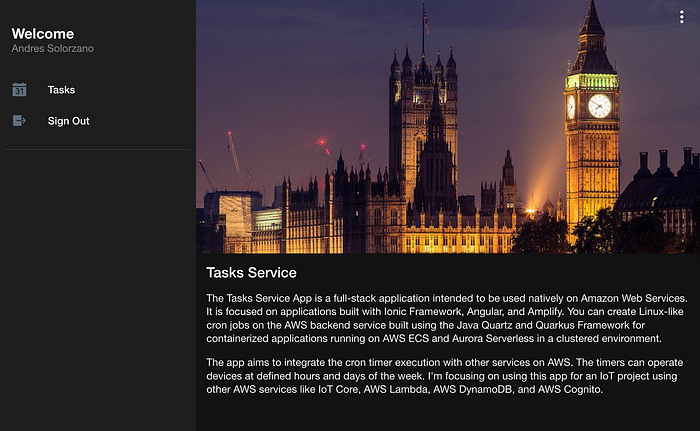
And finally, you can reach the home page of our Tasks Service:
If you want to review the App functionality, please refer to section 4.2 of my previous tutorial, where I put screenshots of the running functionality.
So that’s it!!! Our Tasks Service now uses an internet-facing Application Load Balancer to access our ECS cluster. In the following tutorial, we’ll be configuring our SSL certificate and attaching it to the ALB to encrypt the communication to our API.
I hope this tutorial has been very helpful, and I'll see you in the next one ;).